

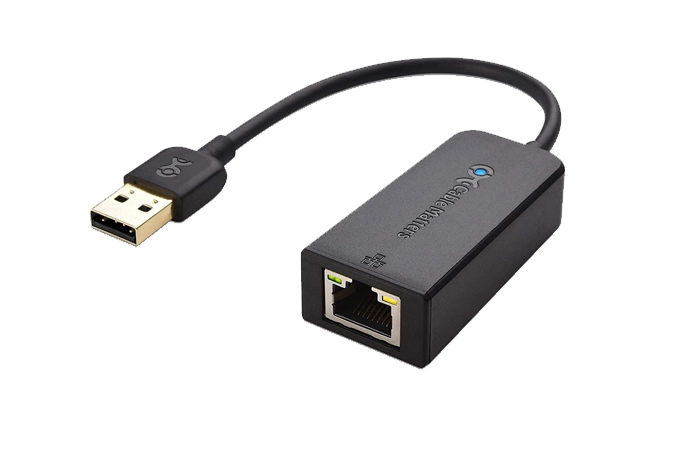
You are here to setup direct ethernet using USB to Ethernet adapter. Sometimes connecting any network to your primary router is less imminent and unfavorable. Besides, connecting the USB cable straight won’t operate correctly. There’s a dependable and facile solution to this problem-the installation of a USB to Ethernet adapter. The adapter connects a USB port network to the clock in anyone’s computer or MAC. You can buy this device at any computer supply store. Or you can also get this from any office in your locality. You can also buy this directly from amazon.com
Note: You may get some models with a driver CD. Ensure that you’ll maintain the manufacturer’s instructions before installing the drivers.
Solution:
- First, you have to connect the Ethernet cable to the clock’s port, which is under the clock. Now input the cable to the adapter’s port.
- Now, connect the adapter’s USB connection to your PC. Your operating system(windows mainly) should identify this connectivity. The Ethernet connectivity should light up the bulb below the clock as well.
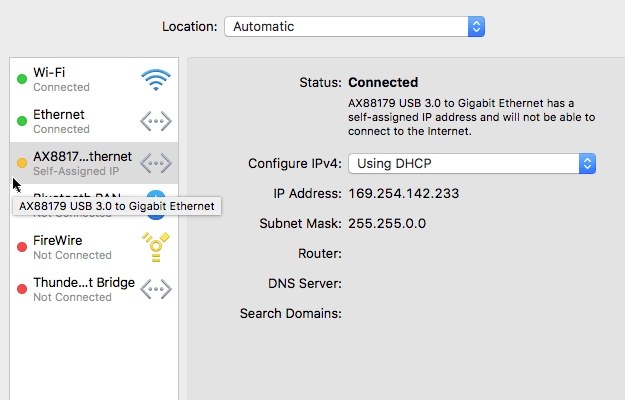
- You can also check the IP address of the new connectivity if you’re a Windows user. You’re just needed to move to Command Prompt for the verification. Luckily, MAC users can easily check network settings from the option USB Ethernet. For that, They have to select Apple Icon-System preferences-Network to view. Scroll down for the description:
Related Article: No Ethernet Port in House? 9 Best Alternative Fixes
For Windows 7, Windows 10, Windows Vista
- Check the left corner of the taskbar below, click the Windows Start icon.
- Look for Search Programs And Files.
- Type ‘Cmd’.
- Tap on Enter key of the keyboard to move to Command Prompt.
Windows 8
- Click the Search icon on the right corner of the computer screen, which looks like a magnifying glass.
- Type ‘Cmd’ in the Search bar.
- Now tap the Enter key on the keyboard. 4. This is how you will find the Command Prompt.
Now type on Command Prompt >ipconfig –all
Now tap on the Enter key. Inspect the “Ethernet adapter Local Area Connection” Settings:
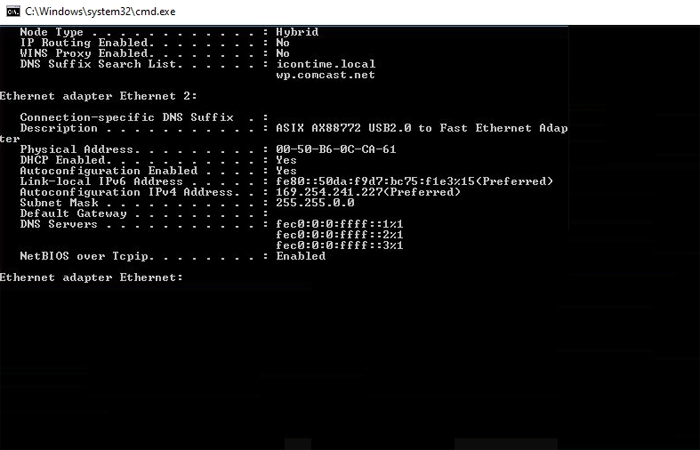
Here, the IP Address is 169.254.241.227, the Subnet Mask is 255.255.0.0 (Example).
4. Allocate the IP Address and Subnet mask in the Clock.
a. Select an accessible IP address.
b. Check the first nine digits of the IP address of the Clock. This address should match with the PC’s IP address accurately.
c. The final three digits of the IP address (clock) should be different.
Now we will allocate the clock’s IP address: 169.254.241.230.
a. Go to the employee time clock terminal>Enter Supervisor Mode.
b. Tap on Padlock Key.
c. Type the Security Code. Default Security Code: 00-00-00.
d. You have to look for the option ‘View IP Address’. You have to scroll down through the Arrow key to find it. Tap Enter key afterward
e. Your screen will show the recent clock IP address. Tap Enter.
f. Type the chosen IP address, include zeros if necessary (Ex:075, etc.) Here your IP Address is: 169.254.241.230
g. You’ll see the accurate IP Address Set on the clock.
h. Type the Subnet Mask: 255.255.000.000
i. You will see the accurate Subnet Mask Set on display.
j. Type the Gateway: 000.000.000.000.
k. You will see the accurate Gateway Address Set on display.
l. Type the DNS as 000.000.000.000 m. Your clock will show the DNS Address Set accurately.
m. The operation has almost finished. To exit, tap Clear.
n. Now you’re required to verify the time clock. For that, follow the sequence-
o. Web browser>address bar> type IP address>Press Enter.
Example:
169.254.241.230,